This is my favourite technique for softening skin as it looks natural. I use this method adding texture back into the skin.
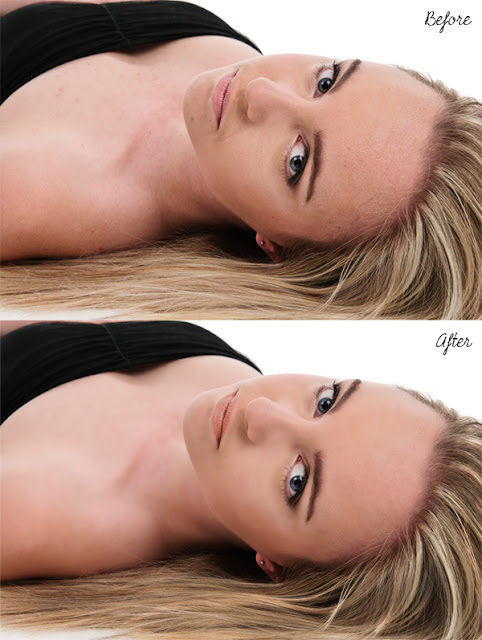 |
Top: The RAW version (sharpening, contrast, and colour editing in Lightroom 3)
Bottom: The final image after retouching. |
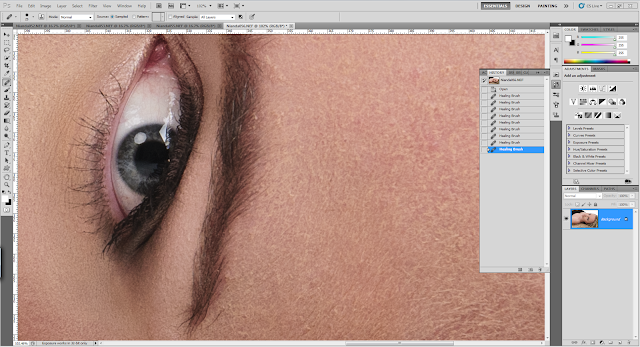 |
| In Photoshop remove all spots and blemishes with the healing brush tool. |
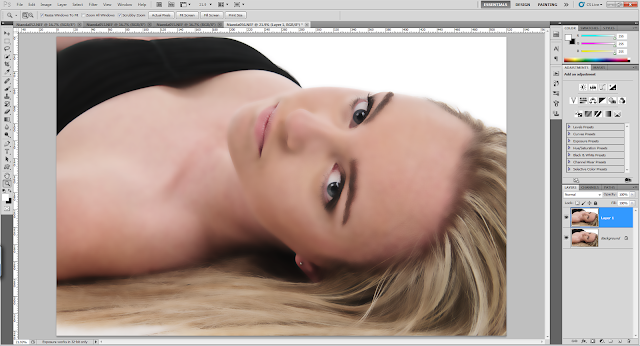 |
| Duplicate the background layer and add Surface Blur (Radius 39 and Threshold 31) to the layer. Change the opacity of this layer to 50%. |
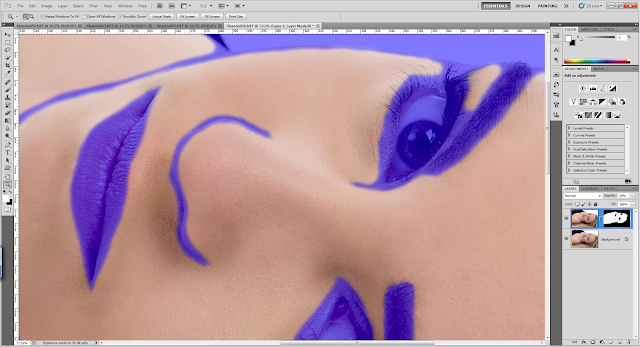 |
| Add a layer mask to the layer and using a soft brush paint over the skin area, avoiding the eyes, lips and nose areas. |
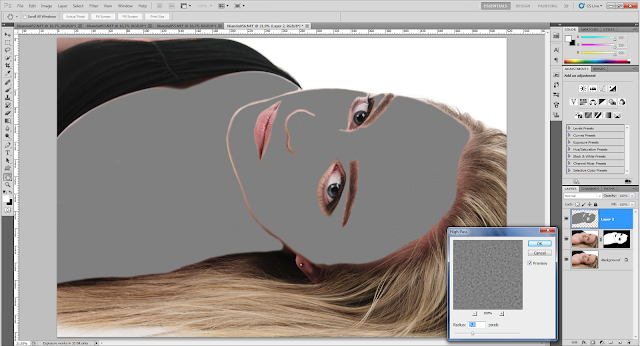 |
| Press and hold the Ctrl key and click once directly on the layer mask tumbnail. Go to the layers panel and click on the Background Layer. Press Ctrl-J and create a new layer of the selection. Move the new layer to the top in the Layers Panel. Select Filter, Other, High Pass with a radius of 5.8 pixels and apply to the new layer created. Finally change the blend mode for this layer to Soft Light. |


No comments:
Post a Comment